Animating & Camera set ups
- Conor
- Mar 14, 2019
- 1 min read

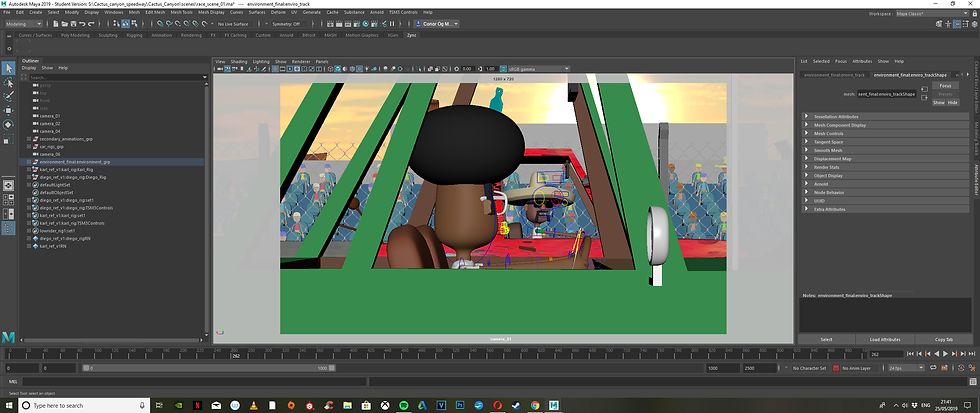
Animating the project was a lot of fun, I the first thing I done was much like in the 3D animatic was to animate the cars moving from start to finish which was in effect sort of like blocking but much easier. It helped speed up this process as I already worked some of the timing issues that needed to be addressed with the animatic. Once this was done I started adding animation to the suspensions to give the cars their sense of weight. This was an area I wanted to reflect real cars so I tried to make them behave the same way a real life car would with a bit more emphasis. The scene with the suspension is mainly where you notice the most of movement until its rusty hydraulics malfunction.
One of my concerns earlier in the year were whether the facial blendshapes would be possible to animate without having controls made. Using Maya's shape editor worked and I named the blenshapes and created groups to make life a bit easier. The only quarrel was that Maya would not dispplay the keyframes set in the shape editor on the timeline so I would have to go into the characters attribute editor and look for the blendshapes associated with its mesh in order to view the keyframes I had set.


Camera set up:


Comments